Please see this article on why we should all practice ultrasound in critical care!
Chest Ultrasound – Compendium of Scans
Click on the Top left arrow icon to see all scans in the series!
Pictorial Section
Probe Positions

A lines – Basic


B Lines


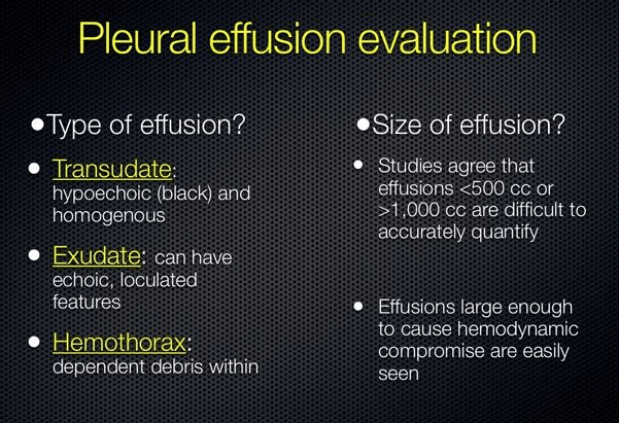
Pleural Effusions
Use your echo cardiac phased array probe for this!


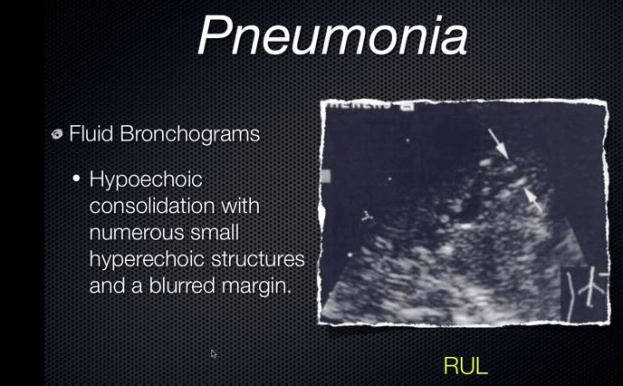
Pneumonia


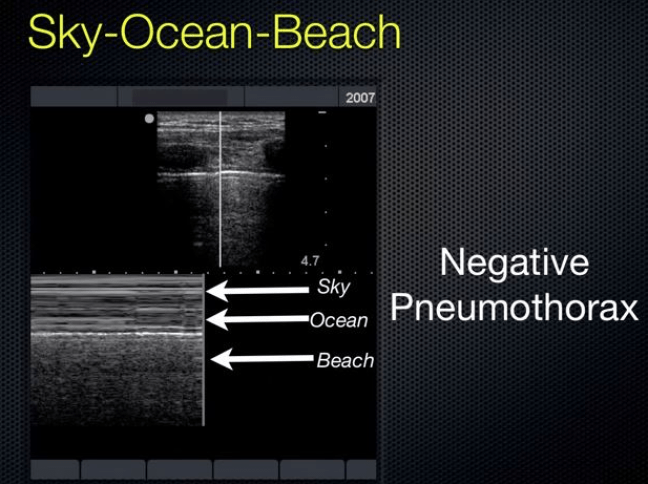
Pneumothorax
See also our section on images in pneumothorax
In a blunt trauma series, pneumothorax detection:
- CXR sensitivity 75%, specificity 100%
- EUS sensitivity 98%, specificity 99%
- Using multiple windows, we are able to assess the size of the pneumothorax with good correlation.
- You can do this by mapping out “lung point” which is the point where the lung drops away from the chest wall. And doing this you can get a good idea of what size the pneumothorax is.
13:54: Pneumothorax Scanning Technique
- Linear high frequency probe needed
- Place the probe cephalad-caudad with the indicator towards the head.
- Place it in the 2nd intercostal space in the mid-clavicular line in (again) a vertical orientation.
You want to watch four to five respiratory cycles.
- Identify the pleural line
- Observe lung sliding
- Sky-Ocean-Beach interface on M-mode
Other causes of absent lung sliding:
- Effusions
- Consolidation with pleural adhesions
- Chest tubes
- Advanced COPD


Protocols!